Category
Growing Guides
Cultivation tutorials from seed to harvest.
7 articles
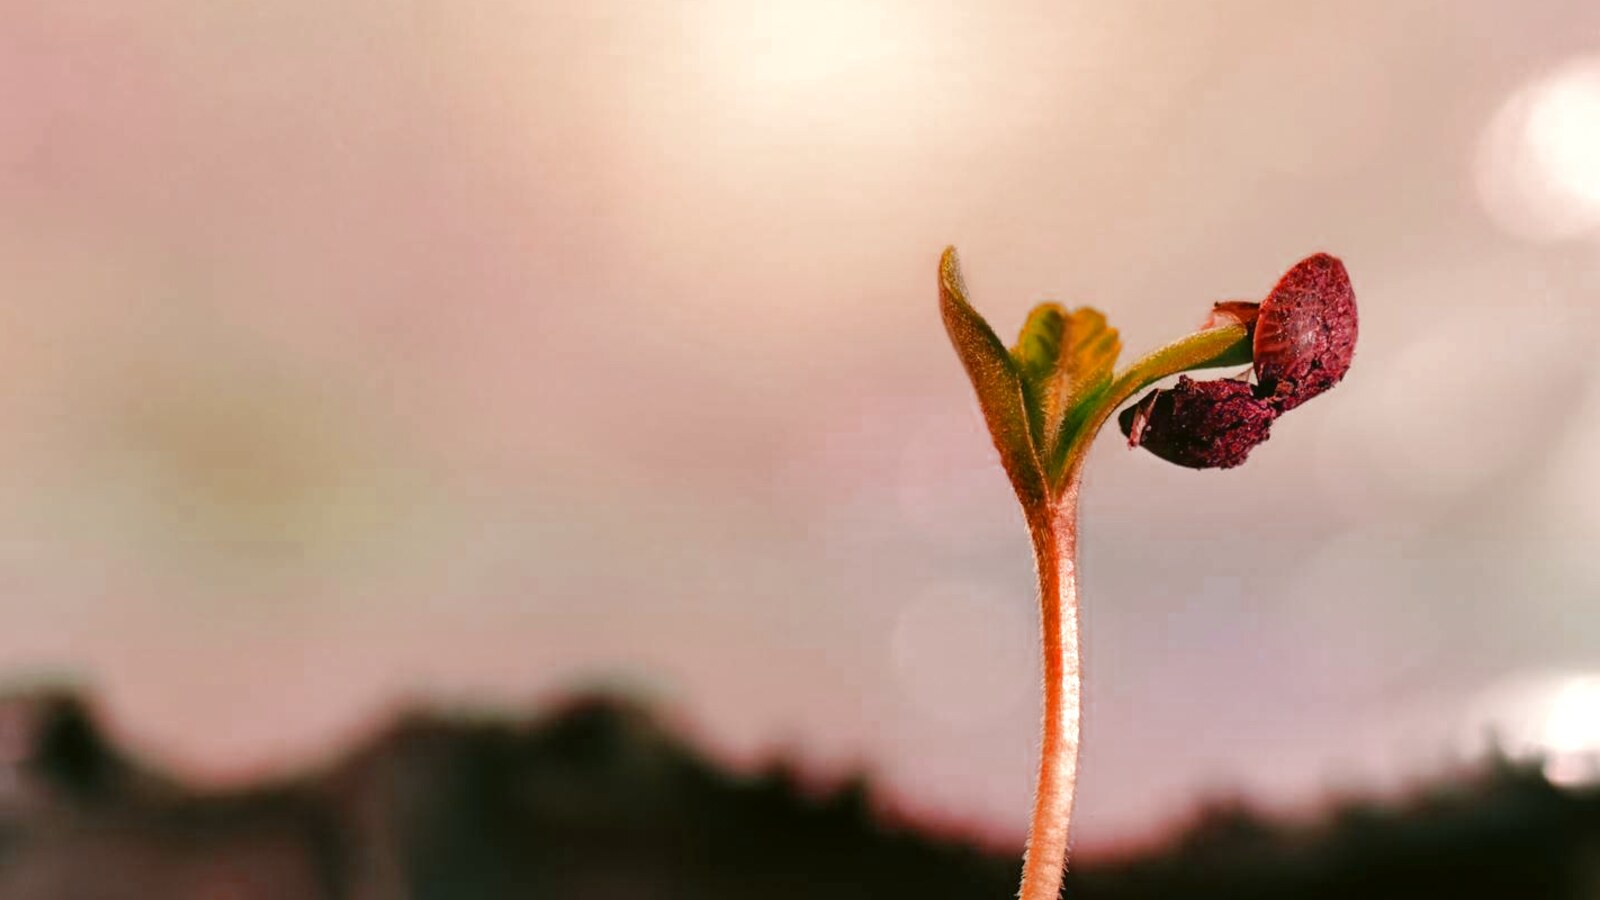
How to Germinate Cannabis Seeds (90%+ Success Protocol)
Most cannabis seeds don't fail because they're bad — they fail because of 3 preventable mistakes in the first 72 hours. Here's the protocol used to hit consistent 90%+ success.
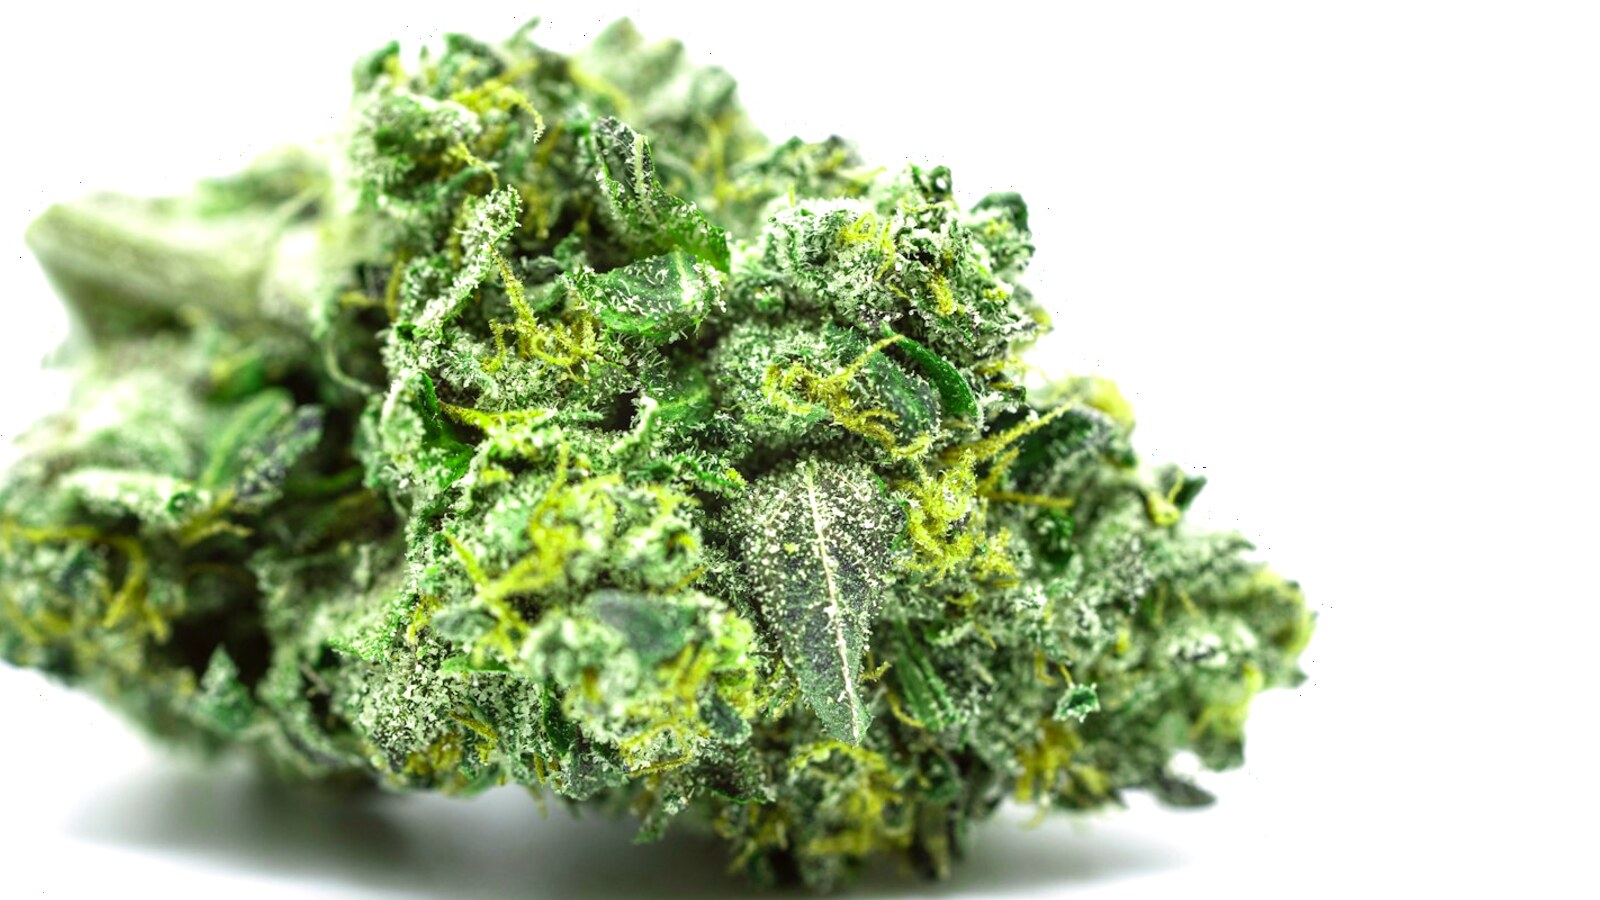
Feminized vs Autoflower Seeds: 8-Strain Yield, Potency & Time Data (2026)
Same-breeder pairings, aggregated grower reports, and public lab data side by side: here's what consistently shows up across full grow cycles.
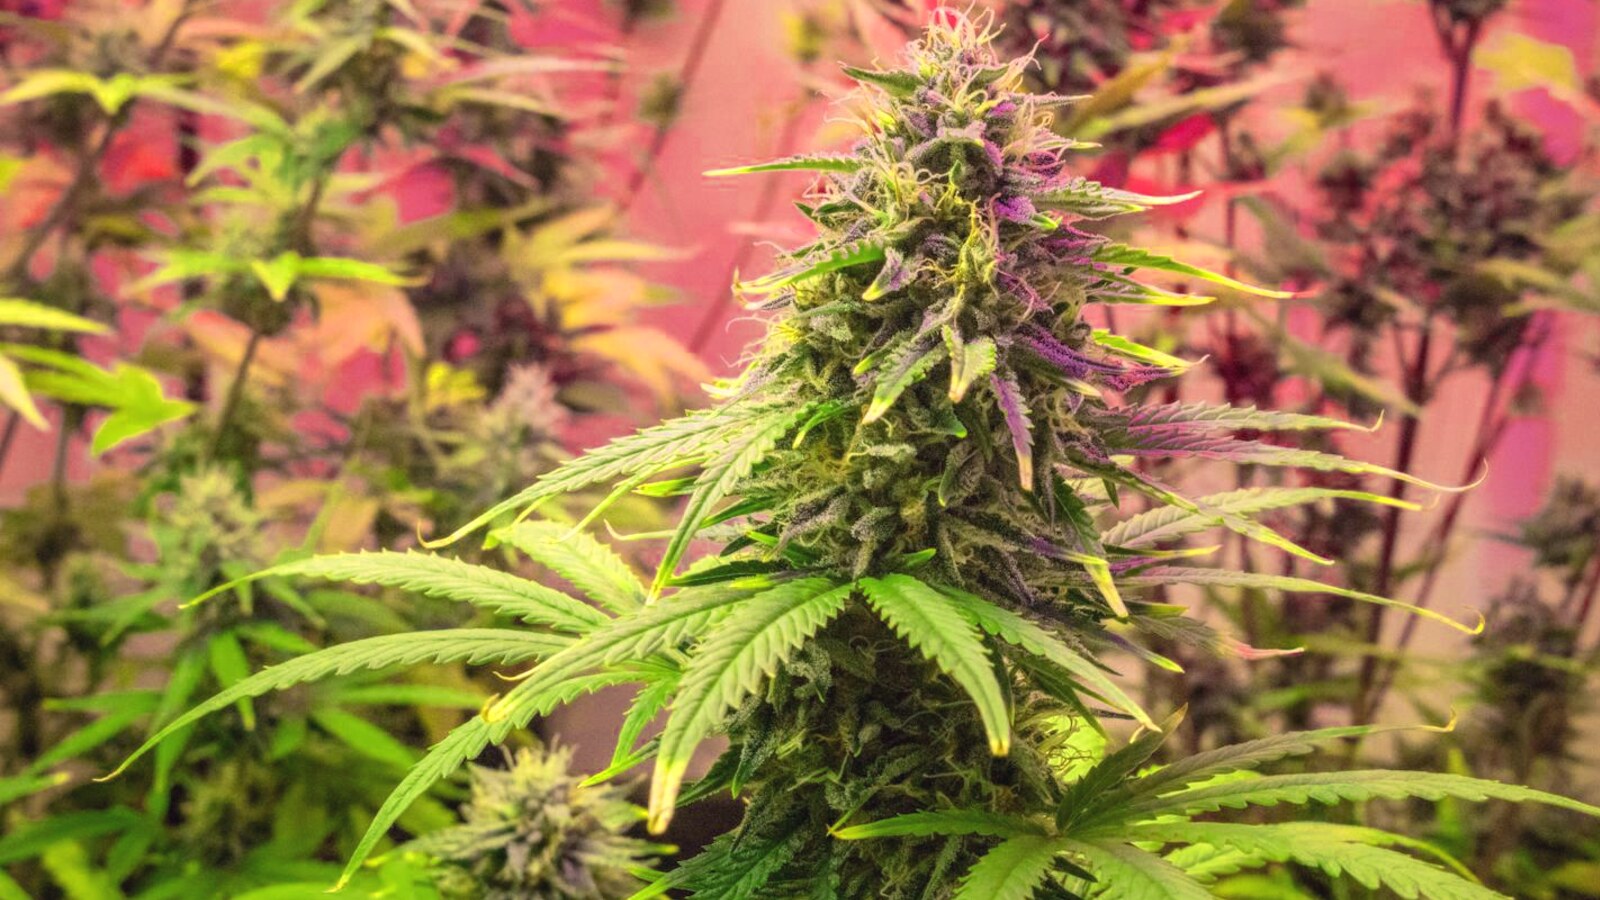
Cannabis Seed to Harvest: The Real Timeline Most Growers Get Wrong
Breeder timelines are optimistic by design — aggregated grower-published timeline data shows first-time photoperiod growers routinely add 4–6 weeks they never planned for. Here's what the schedule actually looks like, stage by stage.
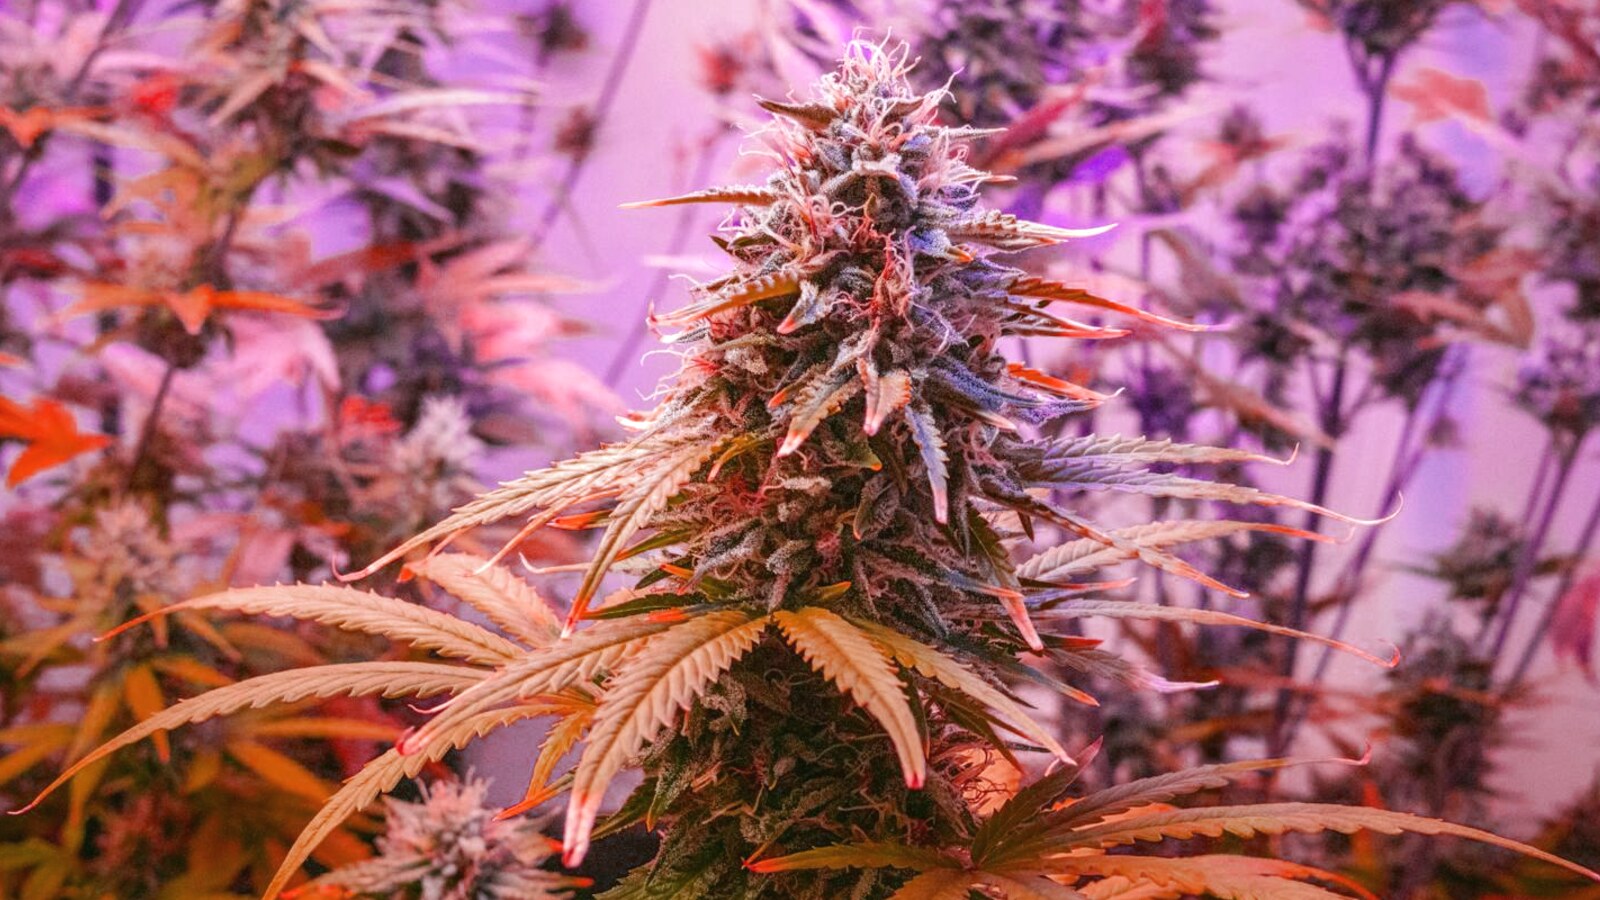
The Real Cost of Growing Cannabis: Indoor vs Outdoor, Broken Down to the Cent
The cost gap between indoor and outdoor growing is real — but it's not the 3× advantage most growers assume once you factor in what you're actually giving up. Six months of side-by-side data revealed some uncomfortable truths about both methods.
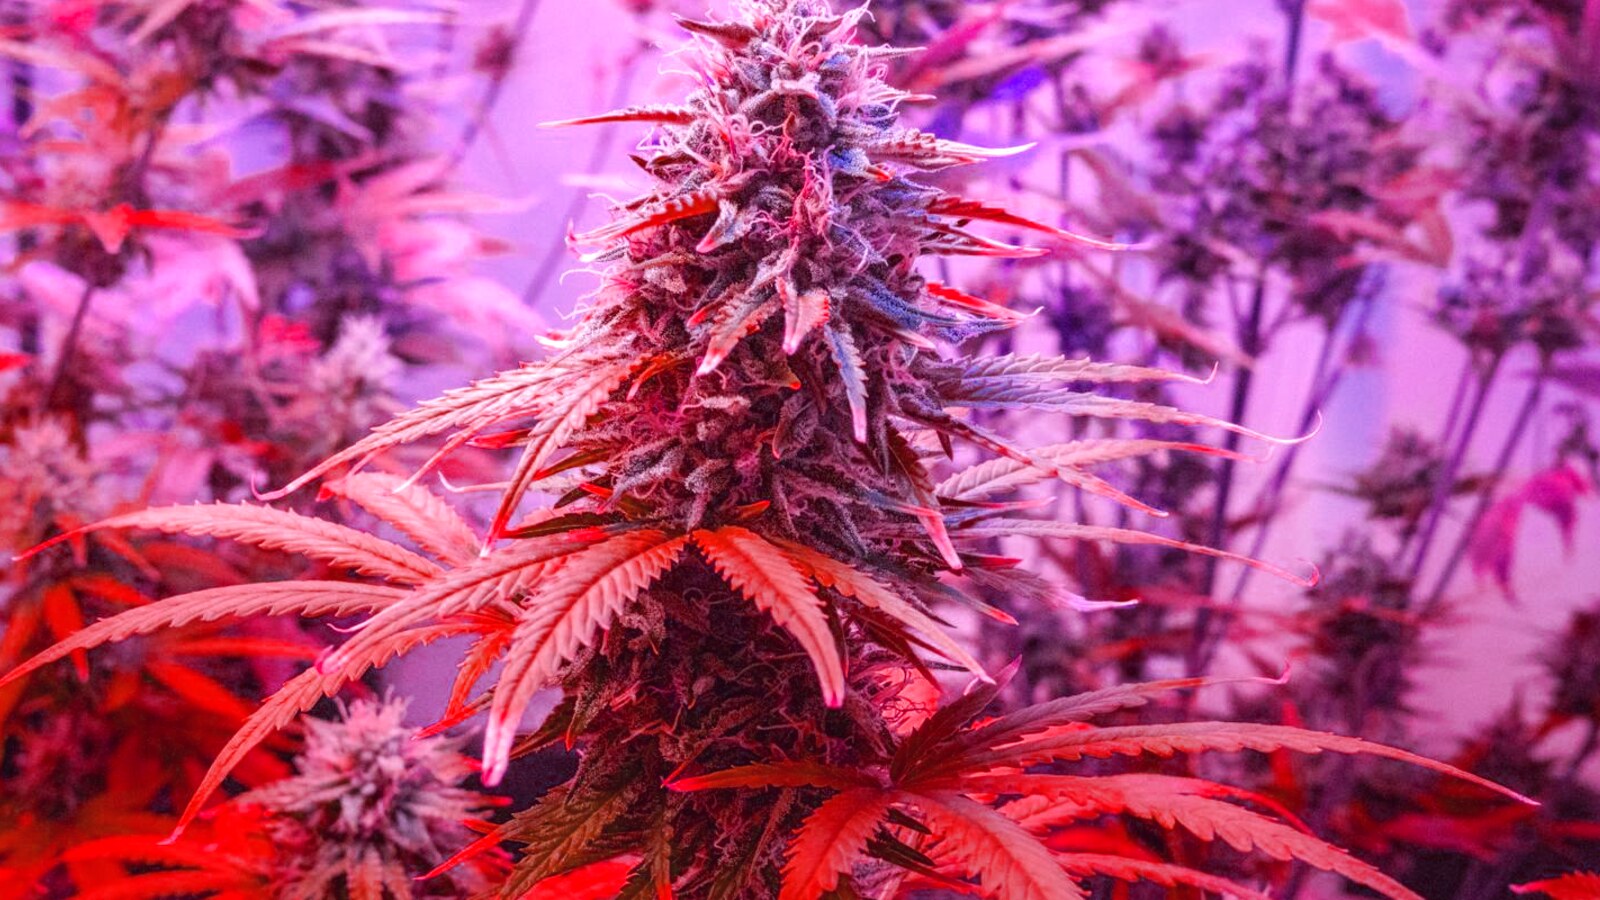
LED Grow Light Showdown 2026: PPFD Maps, Grams-Per-Watt, and Real Cost Data
Advertised wattage tells you almost nothing about how a grow light performs. Three cycles of PAR meter readings, harvest weights, and electricity logs across five models reveal which LEDs actually deliver — and which ones look better on the box than in the tent.
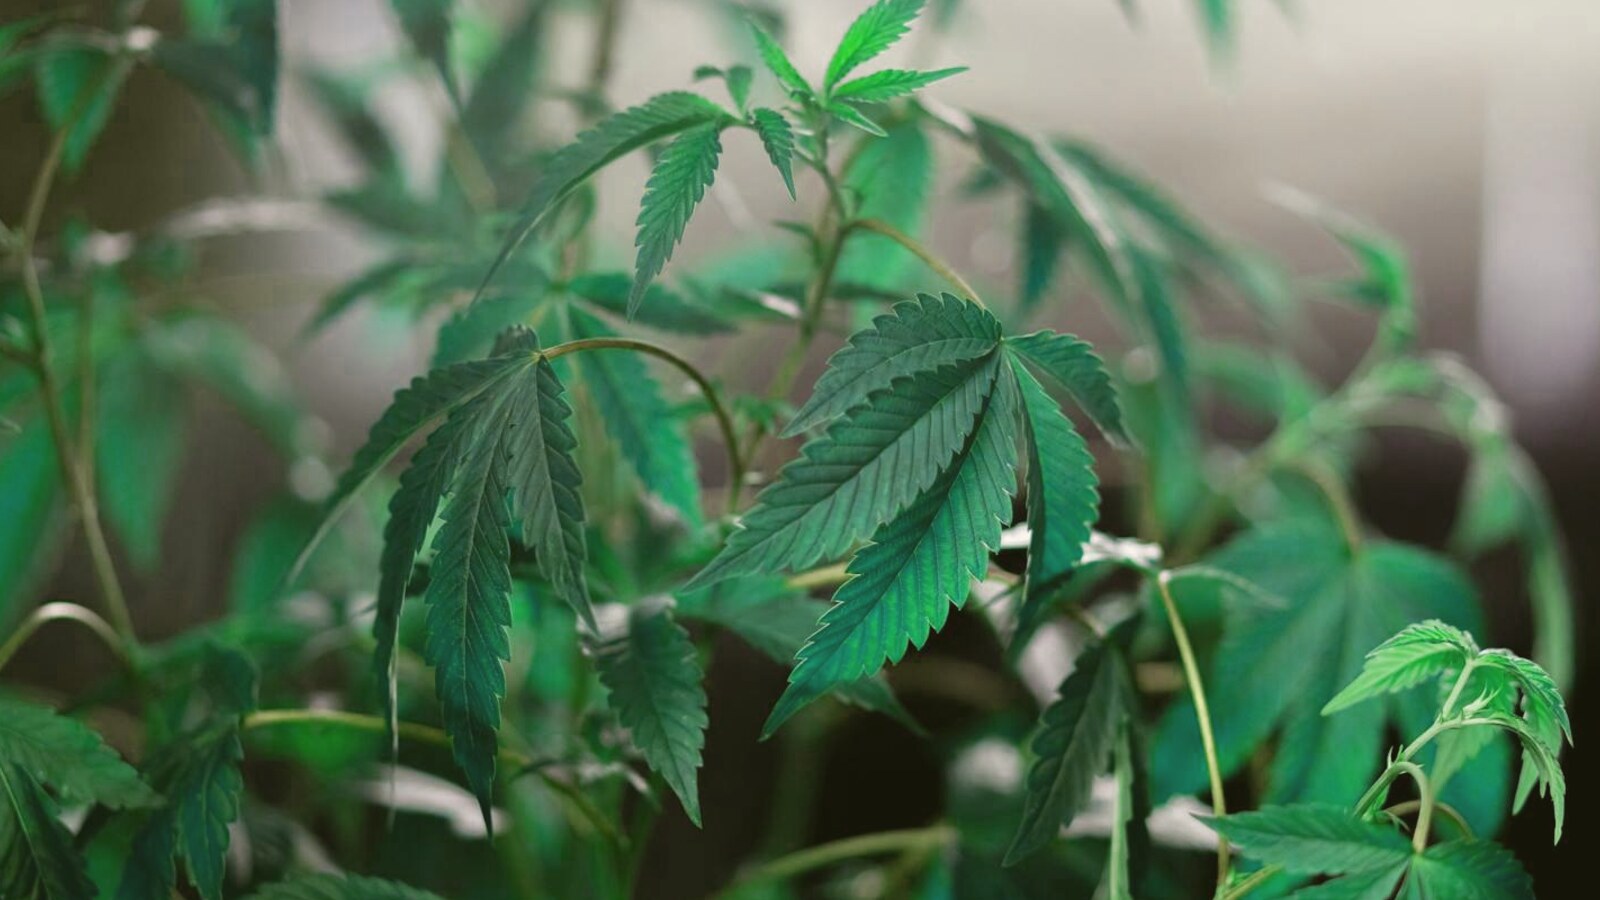
How to Grow Weed in an Apartment: Stealth Setup Guide (100g+ Under 1m²)
You don't need a house, a basement, or a 4×4 tent to grow your own cannabis. A 0.6m² stealth setup consistently yields around 112g of dried flower in aggregated grower reports — here's the full build.
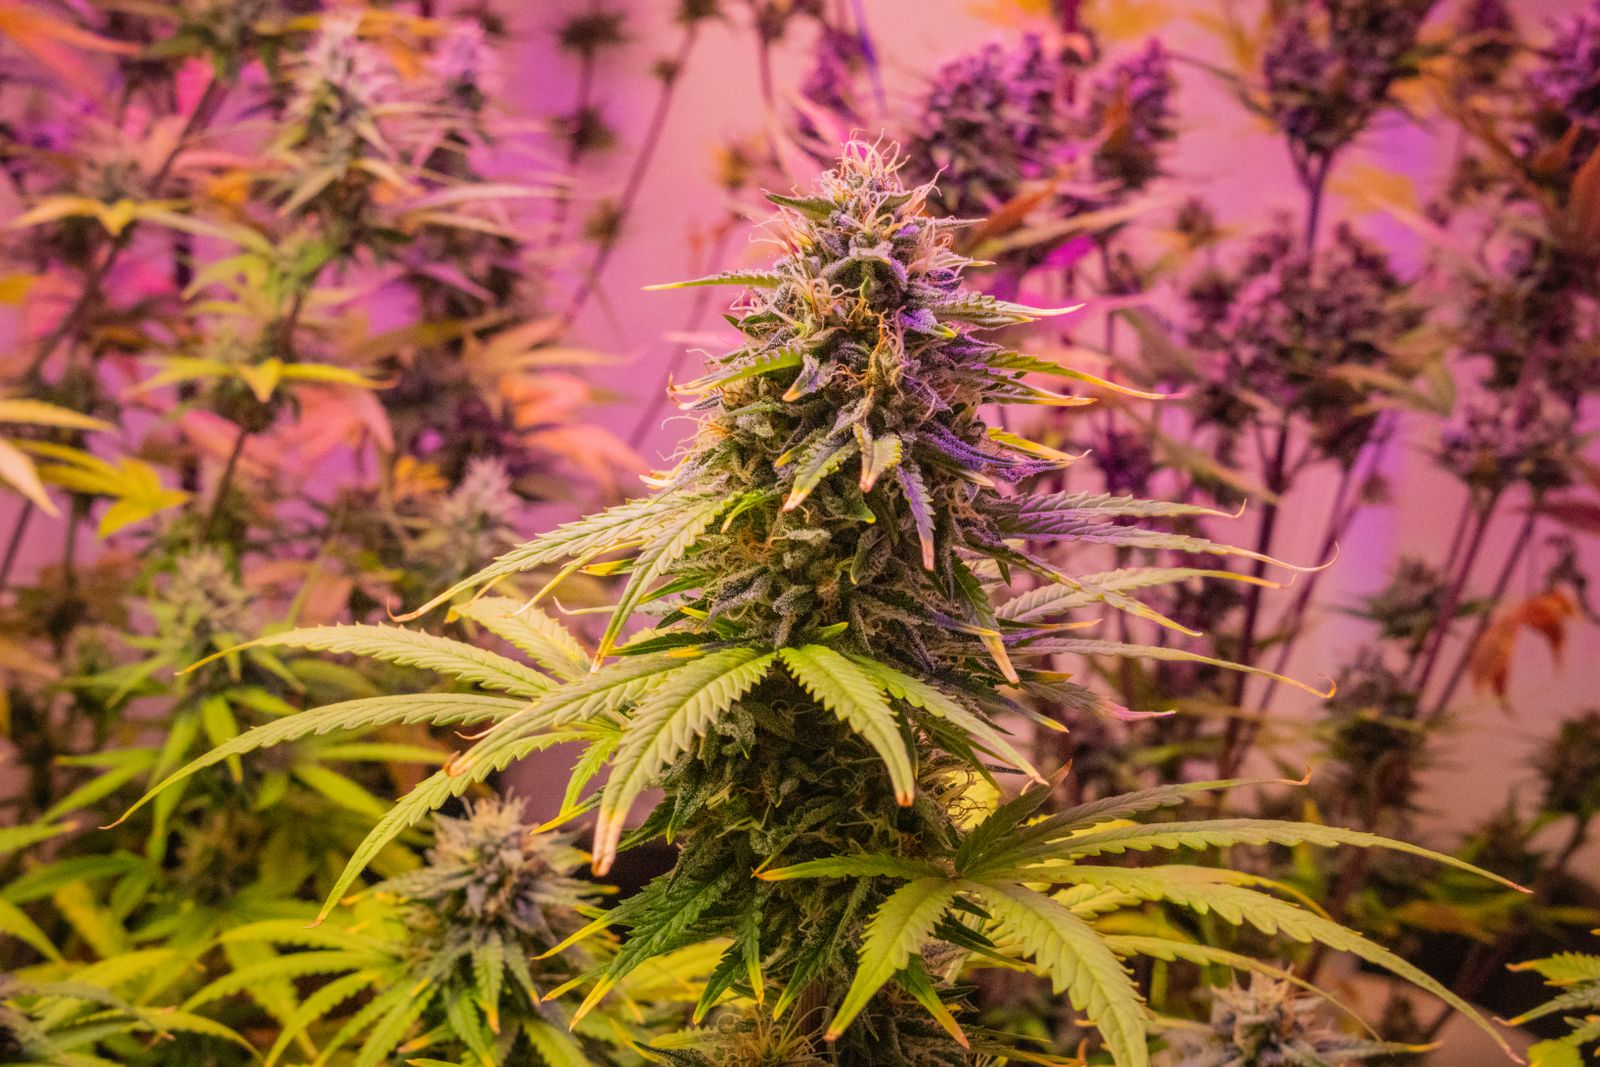
Cannabis Nutrient Schedule: Week-by-Week Feeding Chart (Veg & Flower)
A verified week-by-week cannabis nutrient schedule for both soil and hydro grows — with PPM/EC targets aggregated from public grower feeding logs. Covers seedling through late flush with a printable feeding chart.